Are you ready to elevate your grooming game and achieve a polished, stylish look with your beard? If so, learning how to fade your beard may be just the solution you’re looking for.
Fading your beard involves skillfully blending different lengths and textures to create a seamless transition from one area to another.
Whether you prefer a subtle, natural fade or a bold, dramatic contrast, mastering this technique can add depth and dimension to your facial hair.
In this blog post, we’ll explore the step-by-step process of fading your beard, from preparation and equipment to detailed techniques and finishing touches.
Get ready to embark on a grooming journey that will enhance your appearance and showcase your personal style with a perfectly faded beard. Stay focused.
Beard Fading: What It Is?
Beard fading, also known as beard ombre or gradient beard, is a grooming trend where the color of the beard gradually fades from dark to light or vice versa.
This effect can be achieved through various methods, including bleaching, dyeing, or shaving techniques.
The fading creates a visually appealing transition that adds depth and dimension to the beard, giving it a more polished and stylized appearance.
It’s a popular choice among men seeking a unique and fashionable look, as it allows for creative expression while still maintaining a masculine aesthetic.
Beard fading can be customized to suit individual preferences, with options ranging from subtle and natural transitions to bold and dramatic contrasts.
While achieving the perfect fade may require some experimentation and skill, the end result is often worth the effort, enhancing facial features and making a statement with one’s grooming style.
Different Beard Fading Styles
Beard fading offers a plethora of styles and variations, allowing men to express their individuality and creativity through their facial hair. Here are some popular beard fading styles:
- Natural Fade: This style involves a subtle transition from the natural color of the beard to a slightly lighter or darker shade. It provides a soft, understated look that complements various face shapes and hair textures.
- Blended Fade: In a blended fade, the transition between colors is seamless and gradual, creating a smooth gradient effect. This style requires meticulous blending techniques to achieve a polished and cohesive appearance.
- Contrast Fade: For a more dramatic look, some men opt for a contrast fade, where the difference between the lightest and darkest parts of the beard is more pronounced. This bold style makes a statement and adds visual interest to the facial hair.
- Two-Tone Fade: In this style, the beard is divided into two distinct sections, each featuring a different color or shade. This can include combinations like a dark-to-light fade on one side and a light-to-dark fade on the other, creating a striking asymmetrical look.
- Multicolor Fade: For those who dare to be bold, a multicolor fade involves incorporating multiple hues into the beard, such as blending shades of brown, blonde, red, or even vibrant colors like blue or purple. This eye-catching style allows for endless creative possibilities.
- Geometric Fade: Geometric fades involve shaving or trimming the beard into specific patterns or shapes, such as lines, triangles, or chevrons, while incorporating fading techniques to add depth and dimension.
- Beard-to-Hair Fade: This style seamlessly blends the beard with the hair on the head, creating a cohesive and unified look. The fading technique is used to ensure a smooth transition between the two areas.
Regardless of the chosen style, achieving a flawless beard fade requires precision, patience, and the right tools.
How to Fade Your Beard in Easy Steps
Fading your beard can add depth, dimension, and style to your facial hair, giving you a polished and sophisticated look.
While it may seem like a daunting task, with the right techniques and tools, achieving a professional-quality fade is entirely achievable. Here’s a comprehensive guide on how to fade your beard in easy steps:
Preparation and Equipment
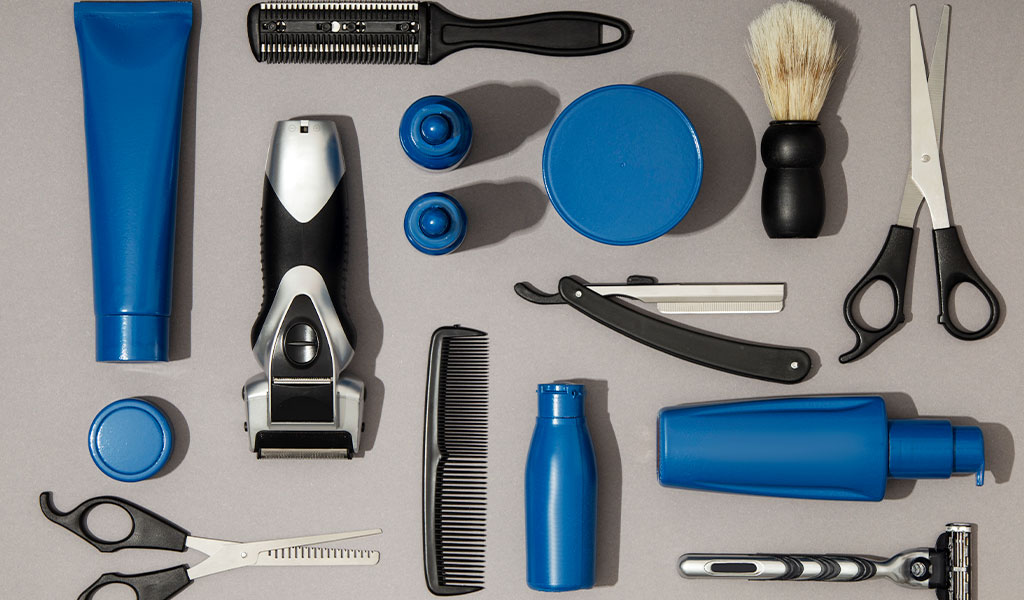
Before you begin the fading process, gather all the necessary tools and products. You’ll need a quality beard trimmer with adjustable guard sizes, a pair of barber scissors, a comb, a handheld mirror, shaving cream or gel, and a sharp razor.
Additionally, having a clean, well-moisturized beard will make the fading process smoother and more comfortable. So, start by washing your beard with a gentle cleanser and patting it dry with a towel.
Choose Your Fading Style
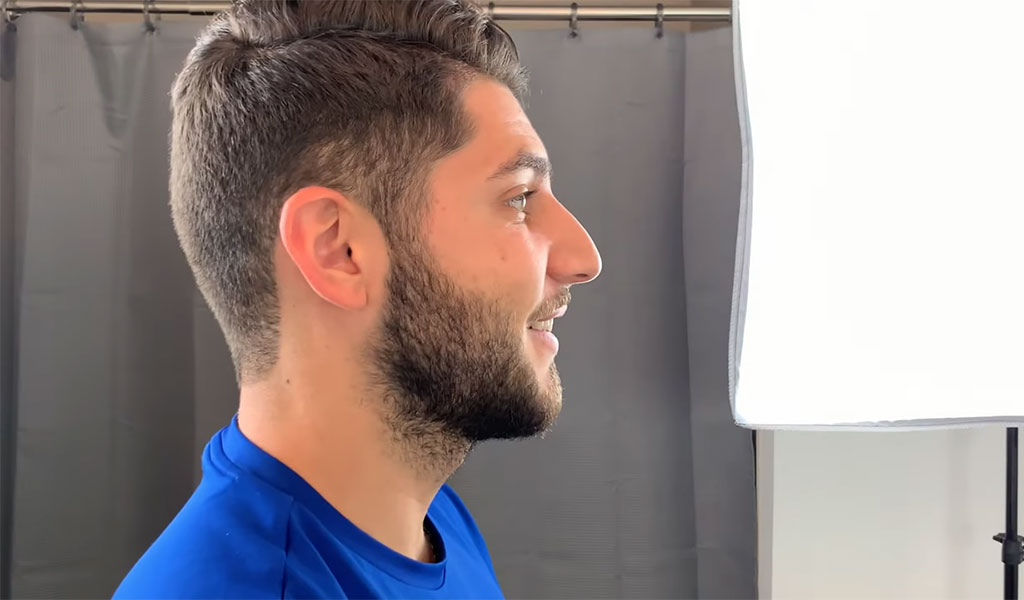
Determine the type of fade you want to achieve before starting. Are you aiming for a natural, blended fade, or do you prefer a more dramatic contrast?
Consider factors such as your hair color, skin tone, and personal style preferences when making this decision. Having a clear vision of your desired outcome will guide you through the fading process.
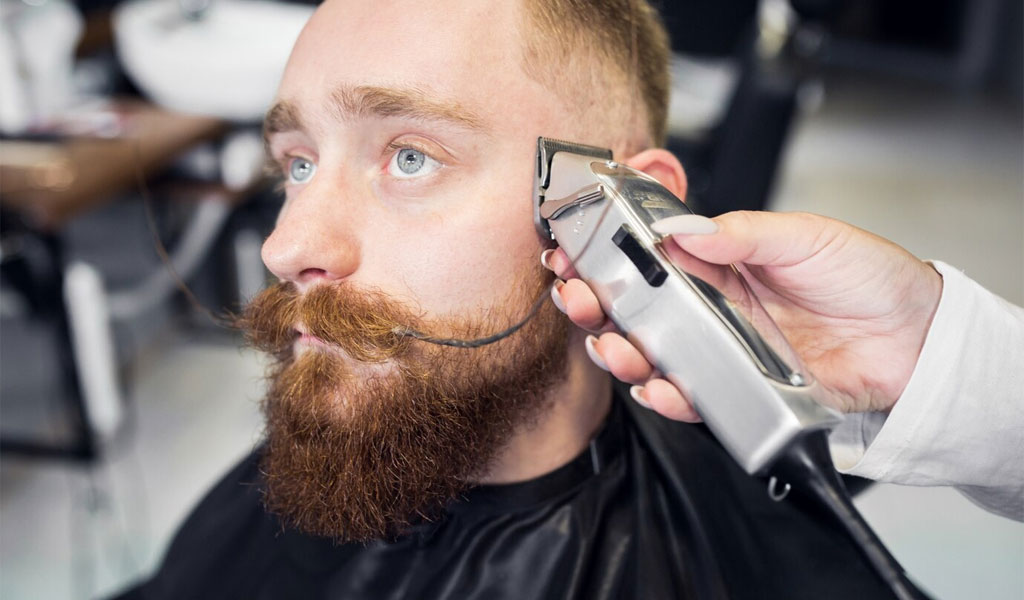
Trimming the Beard
Begin by using the longest guard setting on your beard trimmer to trim your beard to a uniform length. This will create a neat canvas to work with and ensure that the fade blends seamlessly.
Work your way around the beard, trimming it in the direction of hair growth to maintain an even length.
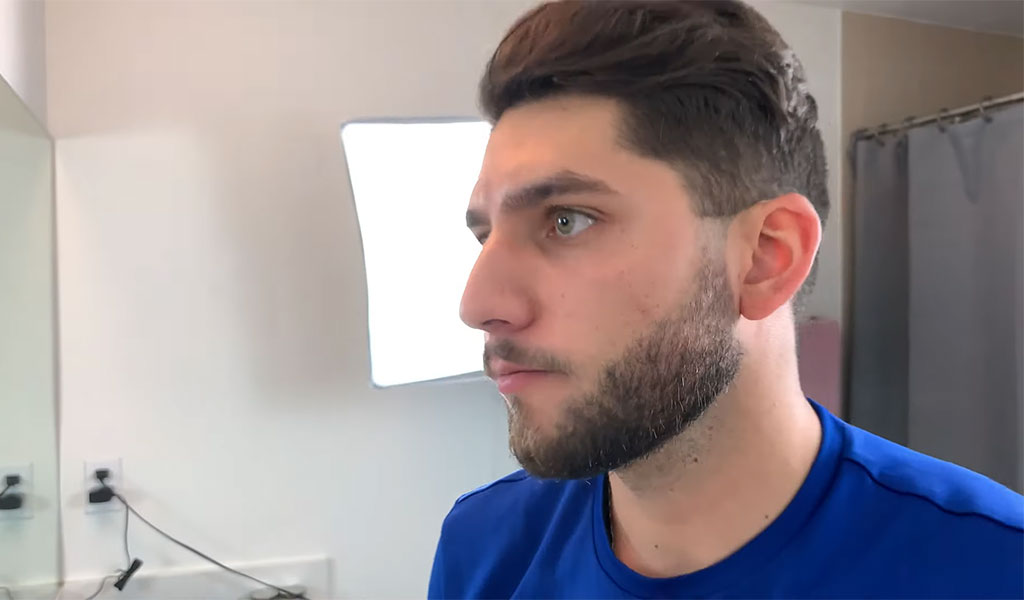
Define the Fade Line
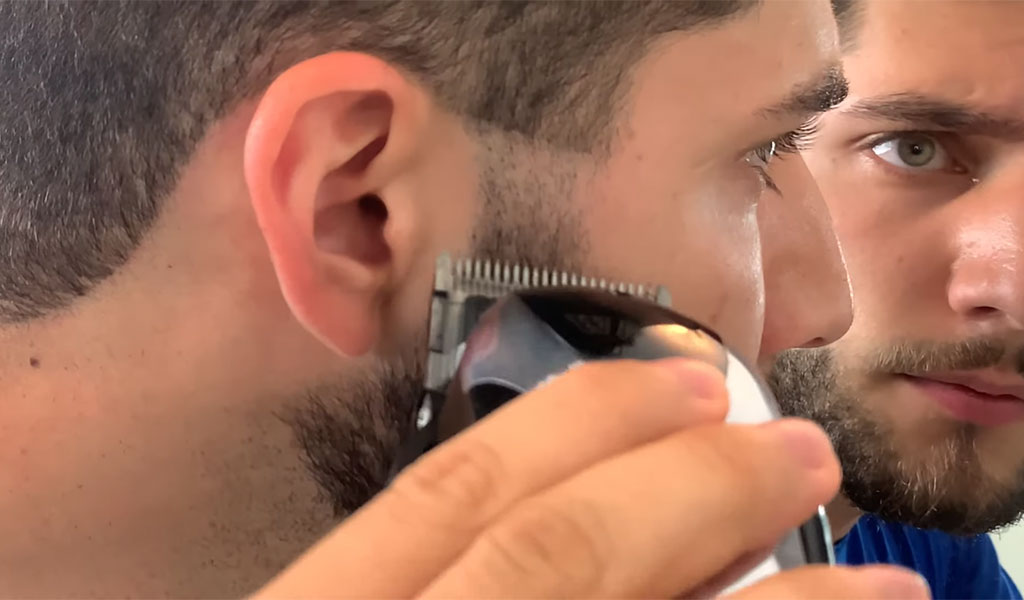
Next, define the area where you want the fade to start. This typically begins around the top of the cheekbones and extends down towards the jawline.
Use the trimmer without a guard or with a shorter guard setting to create a distinct line where the fade will begin. Take your time with this step, as precision is key to achieving a clean and well-defined fade line.
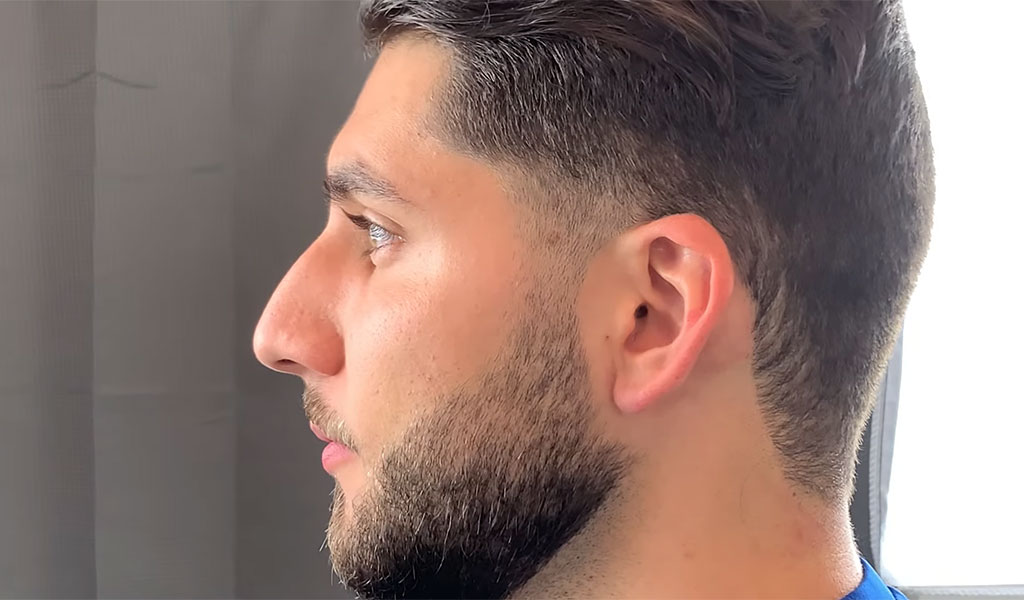
Gradually Decrease Guard Sizes
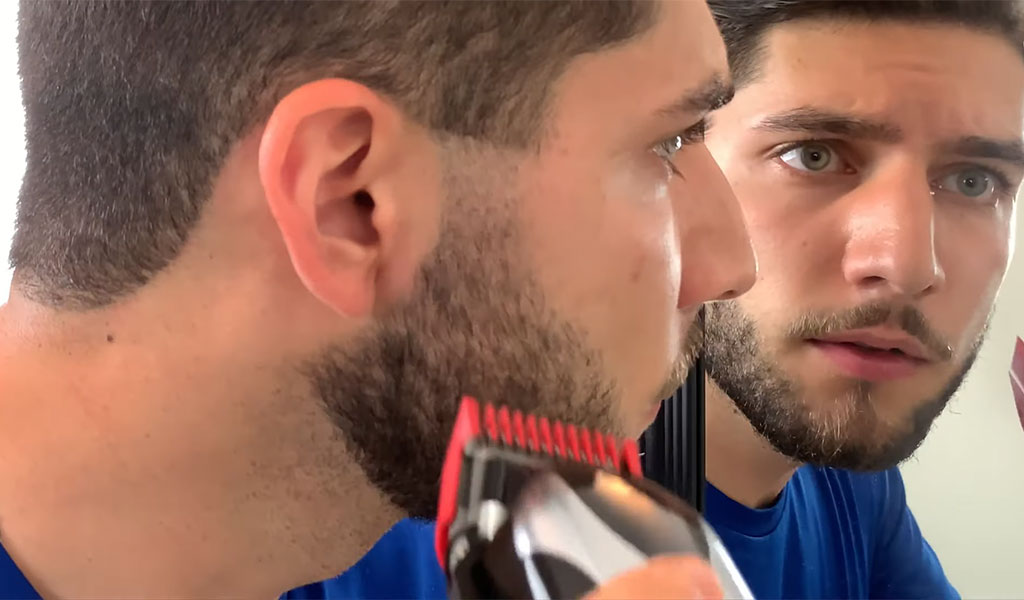
With the fade line established, start fading by gradually decreasing the guard size on your trimmer as you move downward.
Begin with a slightly longer guard than the one used to define the fade line and trim downward, creating a smooth transition between the different lengths.
Use a light touch and short, upward strokes to blend the hair seamlessly. Repeat this process with progressively shorter guard sizes until you reach your desired length at the bottom of the beard.
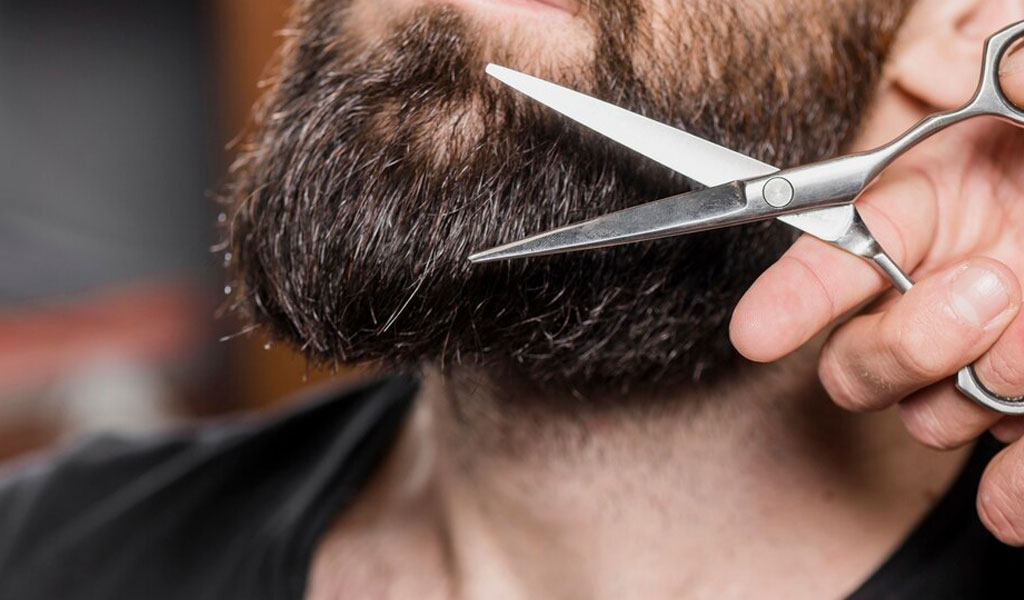
Detailing and Blending
Once you’ve achieved the desired length for the lower portion of the beard, it’s time to focus on detailing and blending. Switch to a smaller guard size or remove the guard altogether for more precision.
Pay close attention to areas around the jawline, chin, and neck, where sharper transitions may occur.
Use the trimmer or barber scissors to carefully blend any harsh lines and create a seamless fade. Take your time with this step, as thorough blending is crucial for a professional-looking result.
Final Touches and Cleanup
After completing the fading process, take a step back and assess your beard from different angles to ensure symmetry and consistency.
Use the handheld mirror to check for any stray hairs or uneven patches that may need further trimming or blending.
Once you’re satisfied with the overall look, it’s time for final touches and cleanup. Apply a small amount of shaving cream or gel to the areas outside of the beard line to create a crisp, defined edge.
Use a sharp razor to shave away any excess hair and refine the shape of the beard. Finally, rinse your face with cold water to close the pores and apply a soothing aftershave balm to moisturize and protect the skin.
Maintenance and Regular Trims
To maintain your faded beard look, it’s essential to establish a regular grooming routine. Trim your beard every few days or as needed to keep the fade looking sharp and well-maintained.
Use the same fading techniques outlined above to touch up any areas that may have grown out or lost their shape.
Additionally, keep your beard clean and moisturized with beard oil or balm to promote healthy growth and prevent dryness or irritation.
By following these easy steps and practicing patience and precision, you can achieve a professional-quality beard fade at home.
Experiment with different fading styles and techniques to find the look that best suits your individual preferences and facial features.
Additional Tips for Fading Your Beard
Achieving a flawless beard fade requires attention to detail and a bit of practice. Here are some additional tips to help you perfect your fading technique:
Take Your Time
Fading your beard is not a task to rush through. Set aside an ample amount of time to ensure that you can focus on each step and achieve the best results possible. Rushing through the process can lead to mistakes and uneven fading.
Start Conservatively
When defining the fade line and trimming your beard, it’s better to start with a longer guard size than you think you need.
You can always go shorter as you progress, but it’s more challenging to fix a mistake if you’ve trimmed too much off initially.
Use Light, Even Pressure
When using the trimmer to fade your beard, apply light and consistent pressure to avoid cutting too much hair off at once. This will help maintain control over the fading process and prevent accidental mistakes.
Blend Gradually
Achieving a smooth and seamless fade requires gradual blending between different guard sizes. Take your time to blend each section carefully, using small, controlled movements to create a natural transition between lengths.
Check Symmetry
Regularly check your progress in the mirror from different angles to ensure that the fade is symmetrical on both sides of your face. Adjust as needed to maintain balance and consistency throughout the fading process.
Practice Patience
Fading your beard, especially if you’re new to the process, may require patience and persistence.
Don’t get discouraged if your first attempt doesn’t turn out perfectly. With practice and refinement, you’ll improve your fading technique over time.
Experiment with Angles
Varying the angle of your trimmer can help achieve different blending effects. Experiment with upward, downward, and diagonal strokes to find the angles that work best for your beard texture and desired fade style.
Seek Inspiration
Look for inspiration from beard grooming tutorials, photos, or videos online to get ideas for different fading styles and techniques.
Pay attention to the details of well-executed fades and incorporate those techniques into your own grooming routine.
By incorporating these additional tips into your beard fading process, you can refine your technique and achieve a professional-quality fade at home.
Wrapping Up
Mastering the art of fading your beard is a journey that requires patience, precision, and practice. By following the step-by-step guide and incorporating additional tips, you can achieve a professional-quality fade at home.
Remember to start conservatively, blend gradually, and take your time to ensure symmetrical results. Experiment with different styles and techniques to find the look that best suits your individual preferences and facial features.
With dedication and persistence, you’ll refine your fading technique and elevate your grooming game to the next level.
So, embrace the challenge, enjoy the process, and let your perfectly faded beard become a stylish expression of your personal style and grooming expertise. Best of luck.